I'd started writing a post about how social media has changed so much of the hobby while I'd been away and how amazing some people I'd met on Twitter have been to me in such a very short period of time. However, I remembered that I promised you in the last post that I would break down my plan for the colour scheme. So, Gav, Dave, Debbie, Sophie, Alexa, Rob and co will have to wait for their shout outs.
In the last post I left you having bought a box of Immortals and Deathmarks. I had agreed to get a small kill team together for a three way Shadow War Armageddon campaign against some Harlequins and Ad Mech, and this gave me the perfect chance to try a colour scheme that I had in mind.
Immortal, Deathmark and Warrior for my kill team
When the plastic Necron warriors came out all those years ago it coincided with an article I read in a modelling magazine (Finescale Modeller I believe, a US magazine that I had imported every month) that was testing a new chrome paint. It was a very thin lacquer, sprayed from an airbrush over a gloss black basecoat. I picked up a box of warriors to see how this chrome finish looked on the scale of these robots compared to the aeroplane fuselage that the paint was designed for.
They turned out just the way I hoped, and a neat wash of Black Ink added enough contrast in the shadows to make the chrome really pop. The green gauss rods in the guns and basing them with a red 'Mars' theme made them look really smart.
This was the colour scheme that I wanted to use but with a few tweaks. My photographs have a cool blue feel to them because of the way I edit the images and I wanted to cool down the chrome, too, to give a more chilling feel and look to the finished models. There would be no red base, either, but there would be blacks. Matt blacks. And with the idea in my head that I wanted this cool blue to extend to a power source glow of some sort it wasn't a large step to start thinking about changing the gauss rods to blue, too.
Now, the challenge to all this was putting the image and ideas I had in my head on to the models, and with all of the paints I remember being renamed (Black Ink... Deadly Nightshade?) this was going to need a lot of experimenting to find the perfect technique. I'm not going to lie, I was a little worried about finding the right paints and balance to make it work.
First thing up was putting the models together. With the Deathmarks being the assassins of the Necron force, I had a funky idea to convert the model for my kill team to match the pose of the classic Vindicare Assassin so he ended up looking like this, rather cool in my opinion!
My Deathmark 'Vindicare' Assassin
A couple of Immortals were posed up and glued together before a leader was converted out of a regular immortal, some Preatorian bits I bought and a destroyer head that I had found. The gun was trimmed just like the Deathmark above, so it was held one handed, leaving the other hand to point a combat blade out in a menacing way! A leader has to be pointing, right!?
With all the models now assembled I just excitedly waited for a new airbrush compressor to arrive; I'd ordered a Iwata Sprint Jet for a crazily good price and thankfully the seller sent it next day delivery which meant that... I could get some paint on these and start developing my colour scheme.
First up, gloss black primer.
It's really important with this that you put it on thinly and slowly. Anyone who knows me will know I have oddles of patience but building up paint on models slowly certainly my tests that. It's so exciting seeing the paint build up that you can so easily pull the airbrush trigger back too far to see the paint build up quicker. I resisted, and finally ended up with all six primered.
The keen eyed readers will notice another model there, too! More on him in a later post!
The gloss black gives the perfect shiny base to sloooowly build up the chrome lacquer on. After I'd patiently let the primer fully cure over night (I know that's not 100% necessary but I was determined not to make any mistakes, so I waited) I transferred some of the chrome lacquer to my airbrush, turned the air flow down to around 12 psi and took a deep breath through my mask.
Boom!
Chrome!
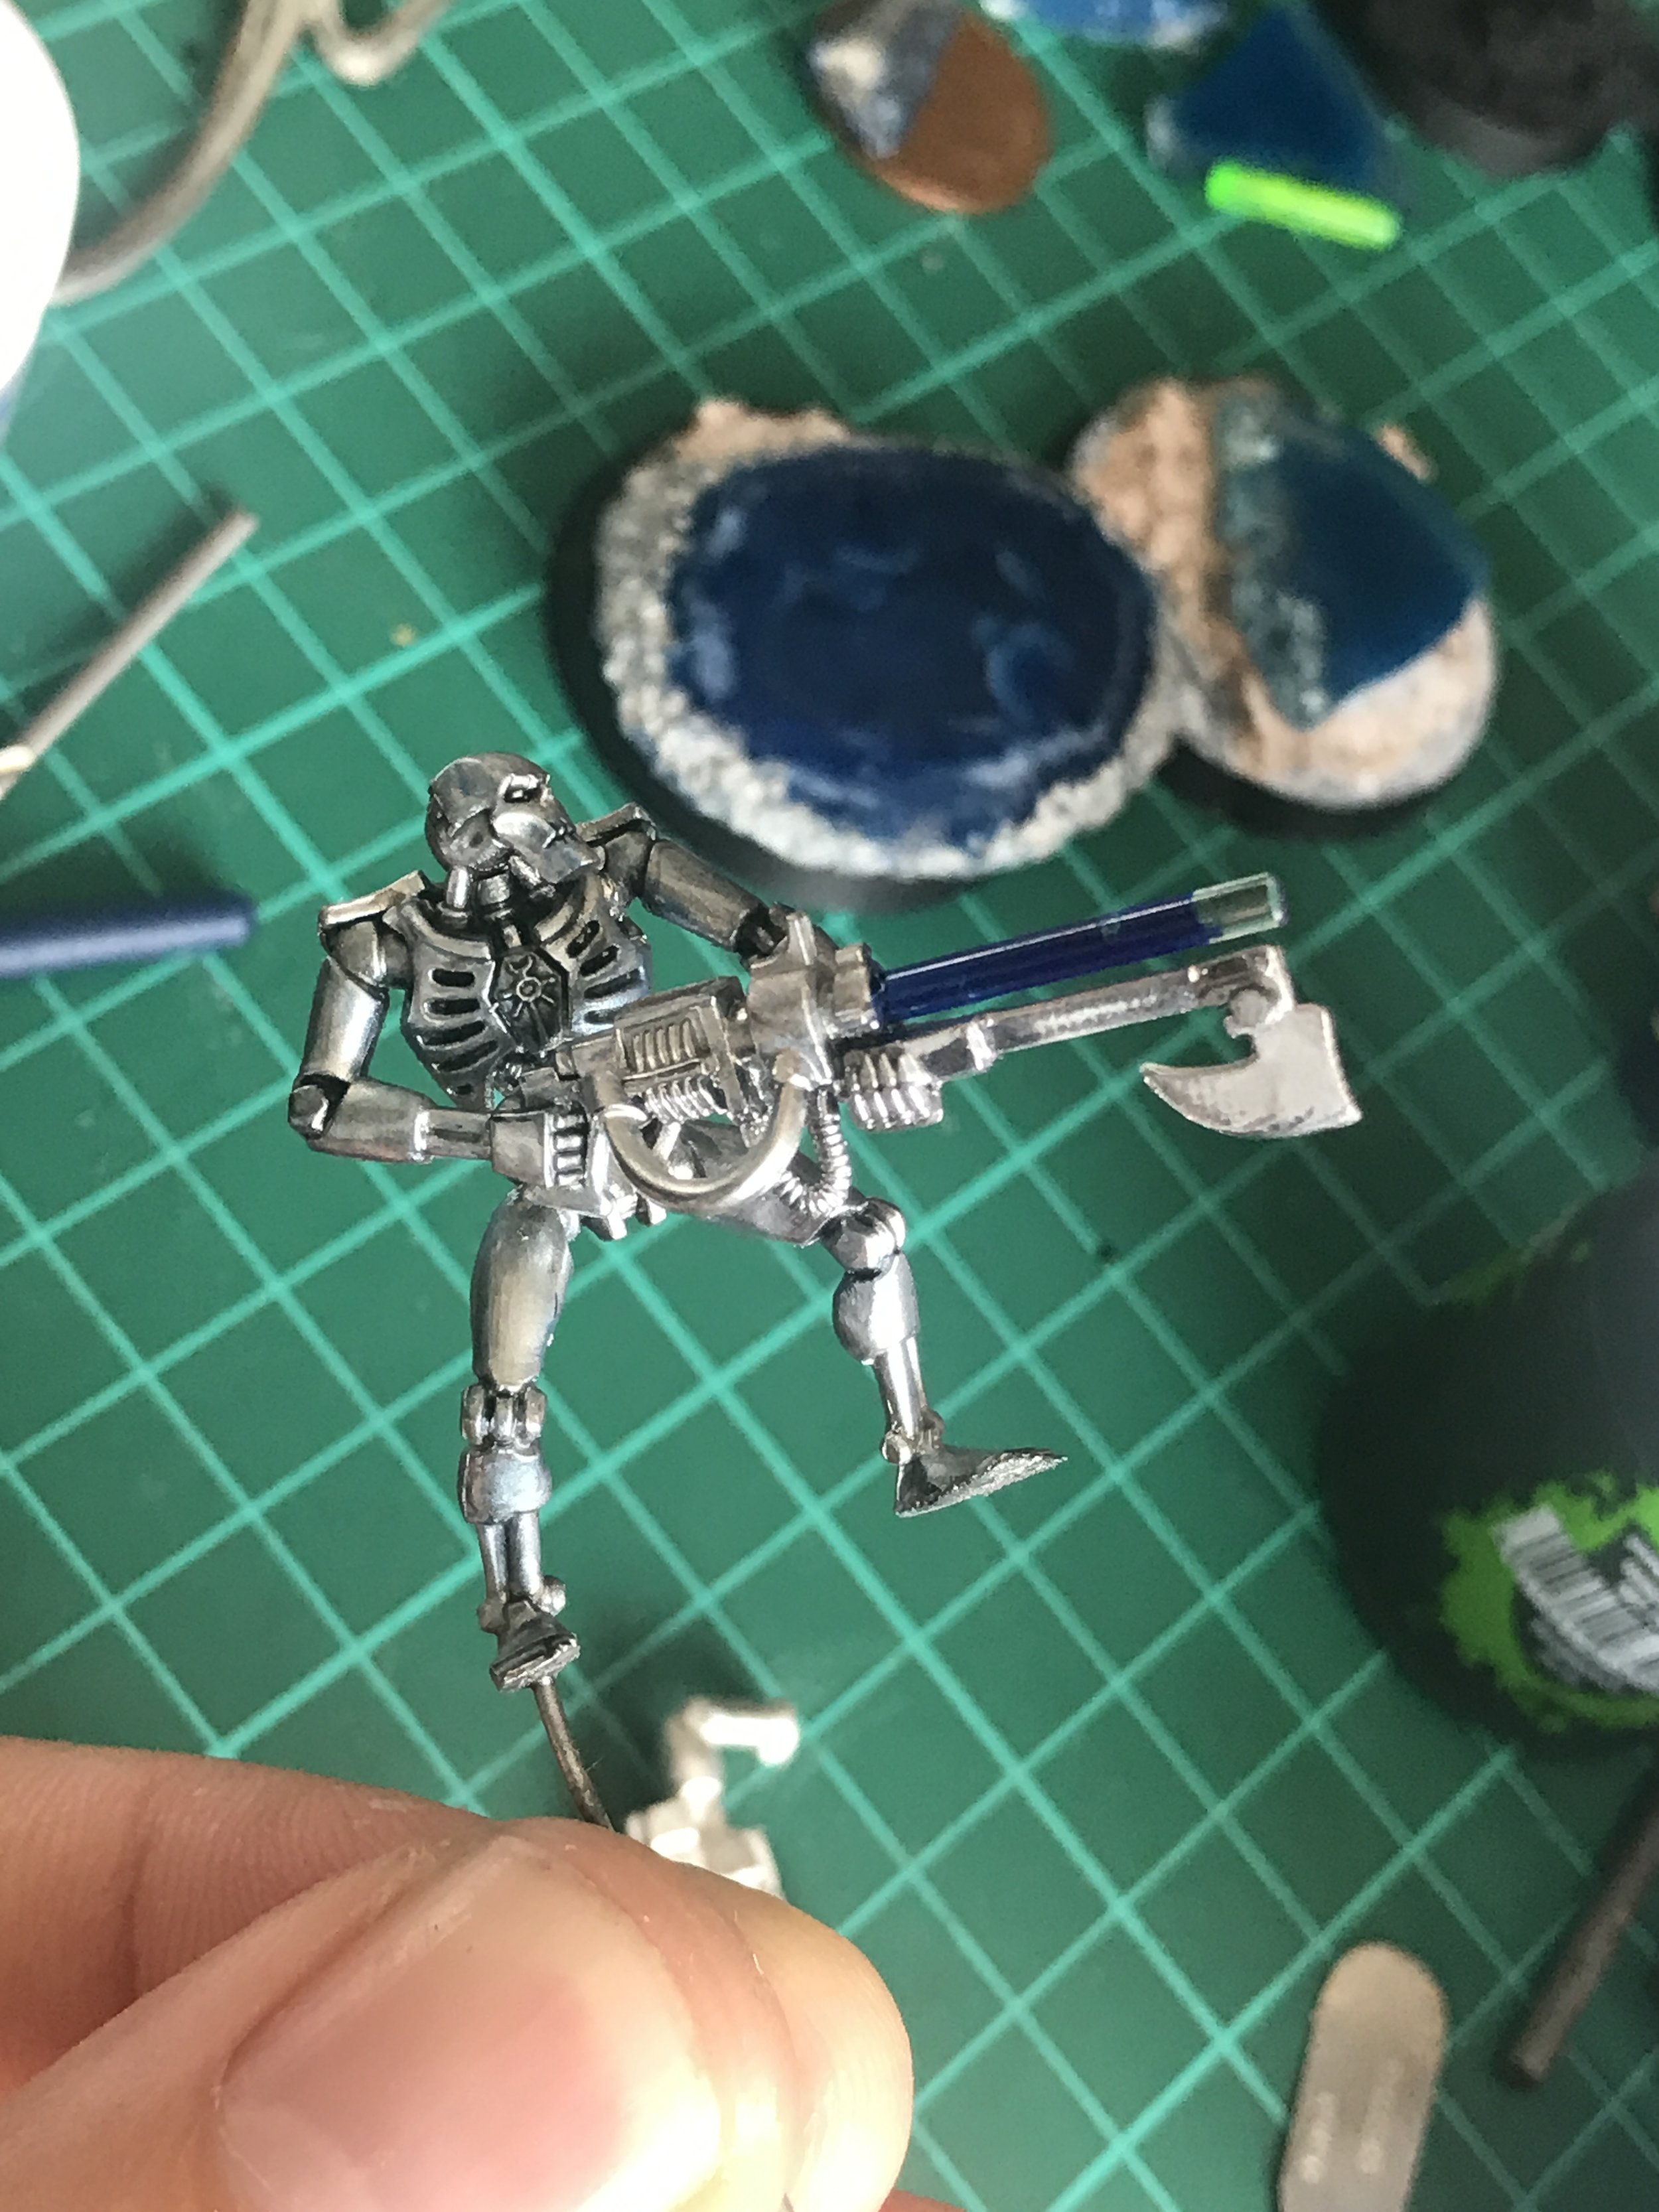
The only downside to these is they are so difficult to photograph as they're so reflective and shiny an iPhone just can't cope. Here's the best I could do and this is where I'll leave this post. Next up I'll discuss the shading, colouring and staining that I have developed and decided upon for the final colours.
Until then, drop me a follow on social media. I'm always on Twitter but you can find me anywhere as @ChrisFrosin, there's only one of me, so I'm easy to find.
Thank you for reading, and I look forward to speaking with you and showing you more of my journey very soon.
Chris
The chromed Necron warrior with the first bit of shading around the chest and my custom Gauss rods


